Per-User Installation Guide
-
Ensure the Prerequisites are met.
-
Download the per-user installer from the website.
-
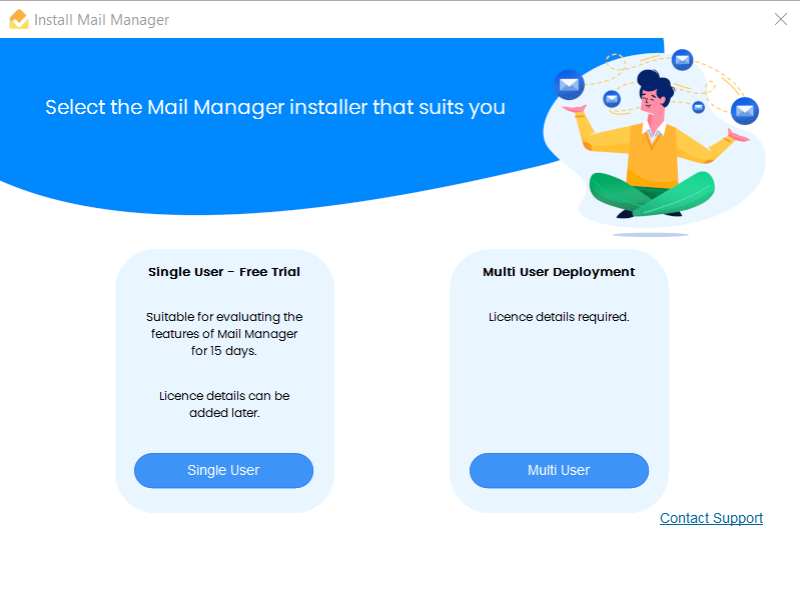
Double-click on the downloaded installer file (.exe) and follow the steps.
Select the installer that suits you

Suitable if you do not have your license details or wish to license Mail Manager for Windows later.
-
Ensure you have internet connection
-
Download and install Mail Manager for Windows from the Mail Manager website
-
Select Single User - Free Trial
-
Open (or restart) Outlook
-
When prompted to 'Activate key now' choose No to continue with a free trial
-
The Mail Manager ribbon buttons will be loaded in Outlook
-
Each time Outlook is opened you will be prompted to Active key now, just select No, unless you have a key.
-
Create a new folder that can be used to configure Mail Manager for Windows for all users and copy the URL to your clipboard for later in the process. [All users will need at least read access to this folder and its contents]
-
Determine your preferred method of deployment:
-
Self Service [Prepare - Install]
-
This .exe installer can be installed by the user
-
-
Multi User Deployment [Prepare - Deploy - Install]
-
Creates a pre-configured installer that you can deploy to machines via Group Policy, SCCM, Intune, etc.
-
The next time a user logs into Windows Mail Manager will be downloaded, installed and configured with your licence details and shared configuration folder.
-
If found, an existing 'per-machine' installation will be removed automatically, but local administrative permissions will be required.
-
The 'Deployment Software' .msi can be deployed to machines via Group Policy, SCCM, Intune, etc. Only after the user has logged out and back into Windows will Mail Manager be downloaded, installed and configured with your licence details and shared configuration folder.
-
-
Logon Script [Prepare - Setup - Install]
-
Creates a pre-configured installer that when run by a logon script will download, install and configure Mail Manager for Windows with your licence details and shared configuration folder.
-
If an existing 'per-machine' installation is found, the installation will fail. Once the 'per-machine' installation has been uninstalled, the next time the user logs on, Mail Manager will get installed.
-
-
-
Prepare
-
Enter your license ID and password
-
Enter in the path or URL of the shared configuration folder
-
If your chosen protocol is SharePoint or Viewpoint, additionally prefix the path with the protocol followed by ":" e.g.
Sharepoint:https://mailmanager.sharepoint.com/sites/MailManager/Shared%20Documents/Mail%20Manager%20Config
-
Enter the folder path where the installer will be created and press Next
-
Accept terms and create the installer
-
-
Once installed, the user will need to exit and restart Outlook.
Note:
-
The 'Self Service' .EXE installer can be installed by the user.
-
The 'Deployment Software' .MSI can be deployed to machines via Group Policy, SCCM, Intune, etc.
-
Only after the user has logged out and back into Windows will Mail Manager be downloaded, installed and configured with your licence details and shared configuration folder. Once installed the user will need to exit and restart Outlook.
The path to the "Shared Configuration Folder" entered above is stored in the PC's Windows registry e.g. Windows 64-Bit:
[HKEY_LOCAL_MACHINE\SOFTWARE\Oasys\Mail Manager].
For example: "Master Config Folder"=SharePoint:https://mailmanager.sharepoint.com/sites/MailManager Config/..."
-
Copy the configured MSI to an appropriate distribution point on the publishing server.
-
It is beyond the scope of this document to give detailed instructions on the use of Group Policy. Please refer to the documentation provided with the appropriate software for help.
